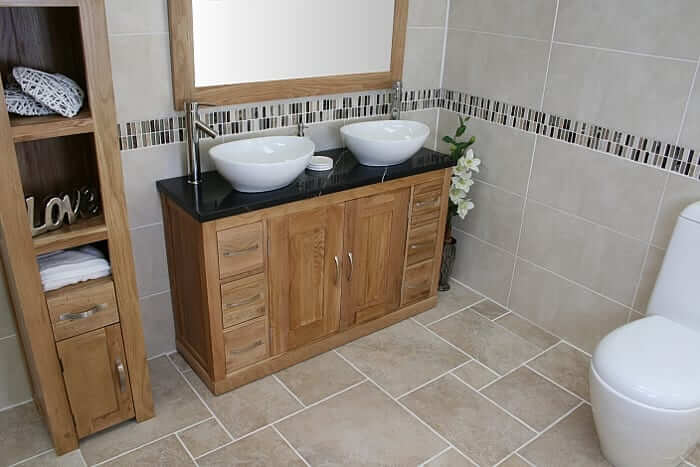
When selecting tiles for your bathroom there are many factors to consider, the choice of colours, patterns and textures is endless. Bathroom tiles are the obvious choice to line the bath or shower area, but most people leave it up to the professionals. However, if you are working to a tight budget, this is a job that can be done yourself with the right amount of patience and preparation.

Tools For Bathroom Tiling
Before you start your tiling you will need the following tiling tools for bathroom tiling; Tile cutter, Tile saw, Grout spreader, Spirit level, Tile nibblers, Adhesive spreader, Tile cutting jig, Gauge stick (home made).
Take a look here for a further breakdown of useful tools.
Preparation For Bathroom Tiling
Before you begin, it is very important to make sure the walls are clean and dry. You need to make the wall surface as smooth and flat as possible, to do this you will need to spend time removing all flaking paint and any wallpaper that may be on the wall. Remember, it’s all in the prep! Once you have prepared your wall, will can start on plotting your tile position, to do this we recommend making a gauge stick to help you plot tile positions on the wall. Use a piece of wood laying several tiles along side it with a spacer between each tile, and mark off each tiles and spacers position along the stick.
Setting Out Bathroom Tiles
Setting out the walls will depend a large amount on the size and shape of your bathroom. Work out where your bottom line of tiles will be going, mark it out and nail a temporary guide batten to the tiling wall, making sure it follows the mark. Use a spirit level to ensure your mark and guide are perfectly horizontal.
Measure into the center of the wall and add another mark for this, now on each side of this center mark set out rows of tiles using your gauge stick. You may need to reposition your bathroom tiles by moving them half a tiles width to the side if the ceramic border tiles measure less then half a tiles width. Once this is done you need to get your vertical line up which should be done the same as the horizontal line, using a guide batten and a spirit level to make sure they are level, once level temporarily nail to the wall.
If you have to tile around any object you should make that your starting point, this will help to keep the surrounding tiles to an equal size. By objects we mean things such as a window. As above you should use the temporary batten guide to position your row of tiles above the window. Remember, all cut tiles should be placed at the rear of the windows reveal.
Adhesive To Bathroom Tiles
Place your bathroom tile onto your tile adhesive, now position each wall tile into the correct position using small sliding movements. Once your first bathroom tile is in position place a spacer next to it and do the same with your next tile. This process can now be done across the whole bathroom wall.

Once you have laid the whole lot, you will want to wipe of any excess tile adhesive with a damp tile cloth or sponge. To make sure you remove all excess tile adhesive before it sets you may want to wipe your bathroom tiles as you lay them and once they are all fixed.
Now that your bathroom tiles are fitted and you have removed all excess tile adhesive, leave them to dry.
Don’t forget to check your bathroom tiles are flat and level as you lay them! The best way to check this is to use a spirit level when you apply each bathroom tile. You may need to add a little extra adhesive or grout if one of your bathroom tiles are below your required level.
Cutting Bathroom Border Tiles
Now that you have finished the main tiling area, you need to cut the border tiles to fit the gap left between your walls. Keeping in mind the spacing between your main bathroom tiles you will need to hold the border tile against the wall face down with one edge on wall, mark the back of the border tile where you need to cut it. Transfer your mark to the tiles face using a felt tip pen.
If you have one, you can use a tile jig which is a purpose made jig to cut tiles. Alternatively you can use a tile cutter. To use a bathroom tile cut you will need; a tile cutter, some fine wire and some kind of wooden panel. Hold the tile border against a straight edge, in one firm stroke score the tiles face. Put your fine wire across your panel (making sure to pull it tight), to snap your tile just place your tile border over the wire (where you scored it above) and push down on both sides of the tile.

To complete the job, carefully smooth off the border edges where cut with a tile sander. Viola!